- Jul 01, 2025
- Skincare Tips
- 641
Share this post on:
We've all been there. You spend ages on your makeup, carefully applying foundation and concealer, only to look in the mirror and see…cake. A thick, uneven, and frankly unflattering layer of product clinging to your face. It’s disheartening, time-consuming, and can leave you feeling less confident, not more.
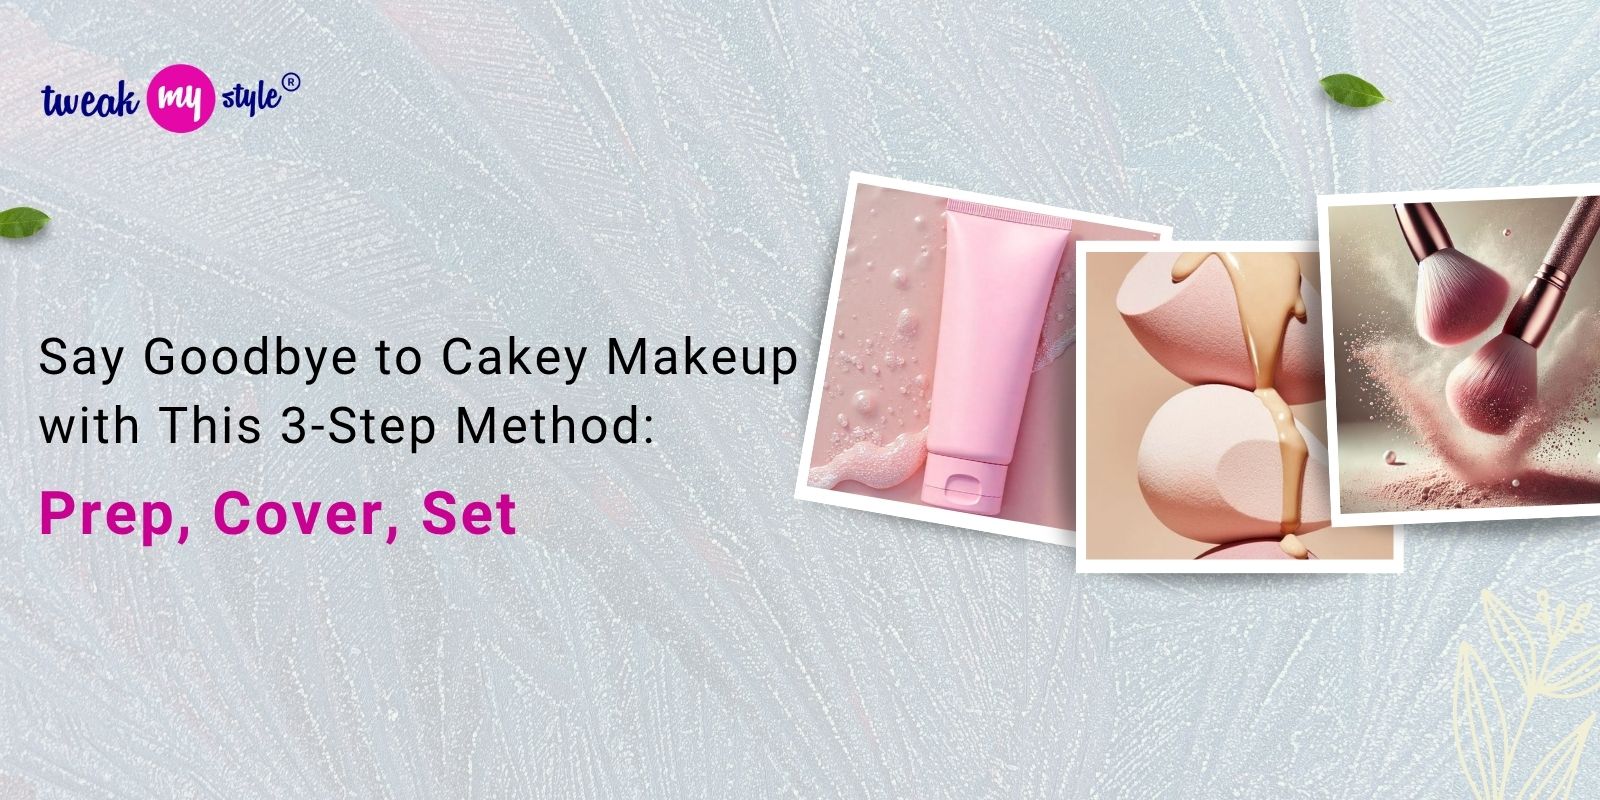
But cakey makeup isn’t inevitable. It's usually a symptom of a few common mistakes, and with a little knowledge and a simple three-step method – Prep, Cover, Set – you can achieve a flawless, natural-looking complexion without the heavy, cakey feel. Let's break it down.
Understanding Why Your Makeup Cakes
Before we jump into the solution, let's understand causes of cakey makeup. It’s rarely just one thing; often, it's a combination of factors:
- Dry Skin: Dry skin naturally produces less oil, which acts as a barrier and helps makeup blend seamlessly. Without it, foundation can settle into fine lines and dry patches, emphasizing texture and creating a cakey look.
- Over-Application: This is the most common culprit. We often think more product equals more coverage, but that’s rarely true. Layering on foundation and concealer actually highlights texture, not hides it.
- Incorrect Product Choice: Using a foundation that's too thick, heavy, or the wrong formula for your skin type is a recipe for cake.
- Improper Skin Prep: Skipping essential pre-makeup steps like moisturizing or exfoliating can leave your skin dehydrated and uneven, making foundation cling to the surface.
- Using Old or Expired Products: Old foundation can oxidize (darken) and become too thick, leading to a cakey finish.
- Applying with the Wrong Tools: Dirty brushes or sponges can mix with foundation and create a patchy, cakey application.
The 3-Step Method: Your Path to Flawless Skin
Now, let’s dive into the method. Each step is crucial and directly impacts the final result.
Step 1: Prep – Laying the Foundation for Success
This is arguably the most important step. Think of your skin as a canvas. You wouldn't paint on a rough, unprepared canvas, would you? The same applies to makeup.
- Cleanse: Start with a gentle cleanser suited to your skin type. (Oily skin: foaming cleanser. Dry skin: cream cleanser. Sensitive skin: fragrance-free, hypoallergenic cleanser.)
- Exfoliate (1-2 times a week): Exfoliation removes dead skin cells that can create a rough texture, allowing makeup to sit smoother. Choose a physical exfoliant (scrub) or a chemical exfoliant (AHAs/BHAs) depending on your preference and skin sensitivity. Don’t exfoliate daily, as it can irritate the skin.
- Hydrate!: Hydration is essential, regardless of your skin type. Even oily skin needs moisture.
- Oily Skin: Opt for a lightweight, oil-free moisturizer or hydrating serum with ingredients like hyaluronic acid.
- Dry Skin: Use a richer, more emollient moisturizer with ingredients like ceramides, shea butter, or plant oils.
- Combination Skin: Focus on hydrating drier areas while keeping the oily areas balanced.
- Serum (Optional but Recommended): Targeted serums can address specific concerns like hyperpigmentation, redness, or fine lines before foundation.
- Eye Cream: Don't forget the delicate skin around your eyes!
- Allow Time to Absorb: This is critical. Give your skincare products at least 10-15 minutes to fully absorb before applying makeup. Applying makeup too soon will trap the product and contribute to cakiness.
Budget-Friendly Prep Picks:
- Cleanser: CeraVe Hydrating Facial Cleanser (all skin types)
- Exfoliant: The Ordinary Glycolic Acid 7% Toning Solution (chemical exfoliation – use with caution, and patch test first!)
- Moisturizer: Neutrogena Hydro Boost Water Gel (all skin types)
Step 2: Cover – Applying Foundation & Concealer with a Light Touch
This is where technique matters just as much as product choice. Less is truly more.
- Foundation – The Right Formula:
- Dry Skin: Choose hydrating, dewy foundations like liquid or cream formulas. Avoid matte foundations.
- Oily Skin: Look for oil-free, matte, or long-wear foundations. A powder foundation can also work well.
- Combination Skin: You may need to experiment to find a balance – a hydrating foundation for drier areas and a matte foundation for oily areas.
- Application Technique:
- Start with a Primer (Optional): A primer can help create a smooth canvas and help foundation last longer. Choose one appropriate for your skin type (hydrating for dry skin, mattifying for oily skin).
- Thin Layers: Apply foundation in very thin layers, building coverage only where needed. Use a damp beauty sponge (like a Beautyblender) for a diffused, natural finish. A brush can also work, but be sure to blend thoroughly.
- Spot Concealing: Instead of applying concealer all over your face, use it to spot conceal blemishes, dark circles, and other imperfections. This minimizes product buildup.
- Blend, Blend, Blend: Thorough blending is essential for a seamless finish. Don’t forget to blend down your neck and hairline.
- Concealer: Choose a concealer that’s one shade lighter than your foundation to brighten the under-eye area. Apply in a triangle shape under your eyes and blend well.
Mid-Range Cover Picks:
- Primer: Smashbox Photo Finish Primer (variety of types for different skin concerns)
- Foundation: Fenty Beauty Pro Filt’r Soft Matte Longwear Foundation (oily/combination) or IT Cosmetics CC+ Cream with SPF 50+ (dry/combination)
- Concealer: NARS Radiant Creamy Concealer
Step 3: Set – Locking in Your Look Without the Cake
Setting your makeup helps it last longer and prevents it from creasing or transferring. However, over-setting can lead to a cakey appearance.
- Baking (Optional – Use with Caution): Baking involves applying a thick layer of setting powder under the eyes and on other areas prone to creasing, letting it "bake" for a few minutes, and then dusting it off. This is best for dry skin as it can be incredibly drying.
- Light Dusting: For most skin types, a light dusting of translucent setting powder is sufficient. Use a fluffy brush and apply it in a thin, even layer.
- Setting Spray: A setting spray helps melt the layers of makeup together and creates a more natural finish. Choose a hydrating setting spray for dry skin and a mattifying setting spray for oily skin.
- Avoid Over-Powdering: Less is more! If you're unsure, start with a small amount of powder and add more only if needed.
Luxury Set Picks:
- Setting Powder: Laura Mercier Translucent Loose Setting Powder (classic for a reason!)
- Setting Spray: Urban Decay All Nighter Setting Spray (long-lasting) or Milk Makeup Hydro Grip Setting Spray (hydrating)
Troubleshooting Common Cakey Makeup Problems
- My foundation looks dry and flaky: You likely need more hydration! Try a richer moisturizer or a hydrating primer.
- My makeup settles into fine lines: Use a hydrating primer and foundation, and avoid heavy-duty powders.
- My makeup oxidizes and turns orange: Choose a foundation that matches your skin tone perfectly and consider a color-correcting primer.
- I’m using a lot of product, but my skin still looks uneven: Exfoliate regularly to remove dead skin cells and create a smoother surface.
